Lately, I have been increasing my content creation efforts. After the launch of my Serverless book, I rented a space to record some promotional videos that I shared on social media. Given the cost of renting space in Singapore, even for only one hour, I realised this was not something I would be able to do frequently.
Luckily, we recently rented a new workshop space. Meiting needed an industrial space for soap making as it involves chemicals, and we wanted something a bit larger so we could move our storage into it and cancel the storage space we were also renting. This larger space also provided an opportunity for me to build a small studio for recording content. In this article, I wanted to walk you through it as it might be helpful for others looking to make a small recording space.
There are generally two types of recording that I do:
- Social media videos, where I am standing freely talking about a given strategic topic for public consumption. These are generally more informative and less educational and are usually not accompanied by slides.
- Training videos, where I am sitting down and going through a training deck. Such videos are sold as part of a Serverless adoption track to customers and are not intended for public sharing.
I like to have two camera angles for the social media videos to mix it up a bit in editing and keep the video interesting as there are usually no slides, and the attention is entirely on me. The training videos have one camera angle and a shared deck. The deck is prominent, and my video is small in the corner.
Equipment and layout

Most prominent is the green screen, which is rather large at three meters wide, but it gives me some space to move around. Ideally, I would have liked green screens on each side too. I have not needed them yet, but I will probably add these at some point to give me a bit more flexibility in camera angles and movement. The challenge with three walls of green screen is avoiding shadows in the corners, which are harder to key out. Ideally, they should be rounded corners.

I have two small led panels to light out the green screen; in retrospect, I should have gotten larger models as these only cover about half the height of the green screen. For my current half-body social media videos, it works out well, though. If I want to go full-body at some point, I will need either larger or additional lights.

I do have a larger subject LED light at the front. For the social media videos, I can plan this at a nice angle just in front of me below the sight of the cameras. For the training videos, there is only space for the light to one side, which is not ideal as half my face is then more shadowed. I will need to purchase a ring light to improve the lighting of the training videos. I am also missing a back-light which is on my list for a future purchase.

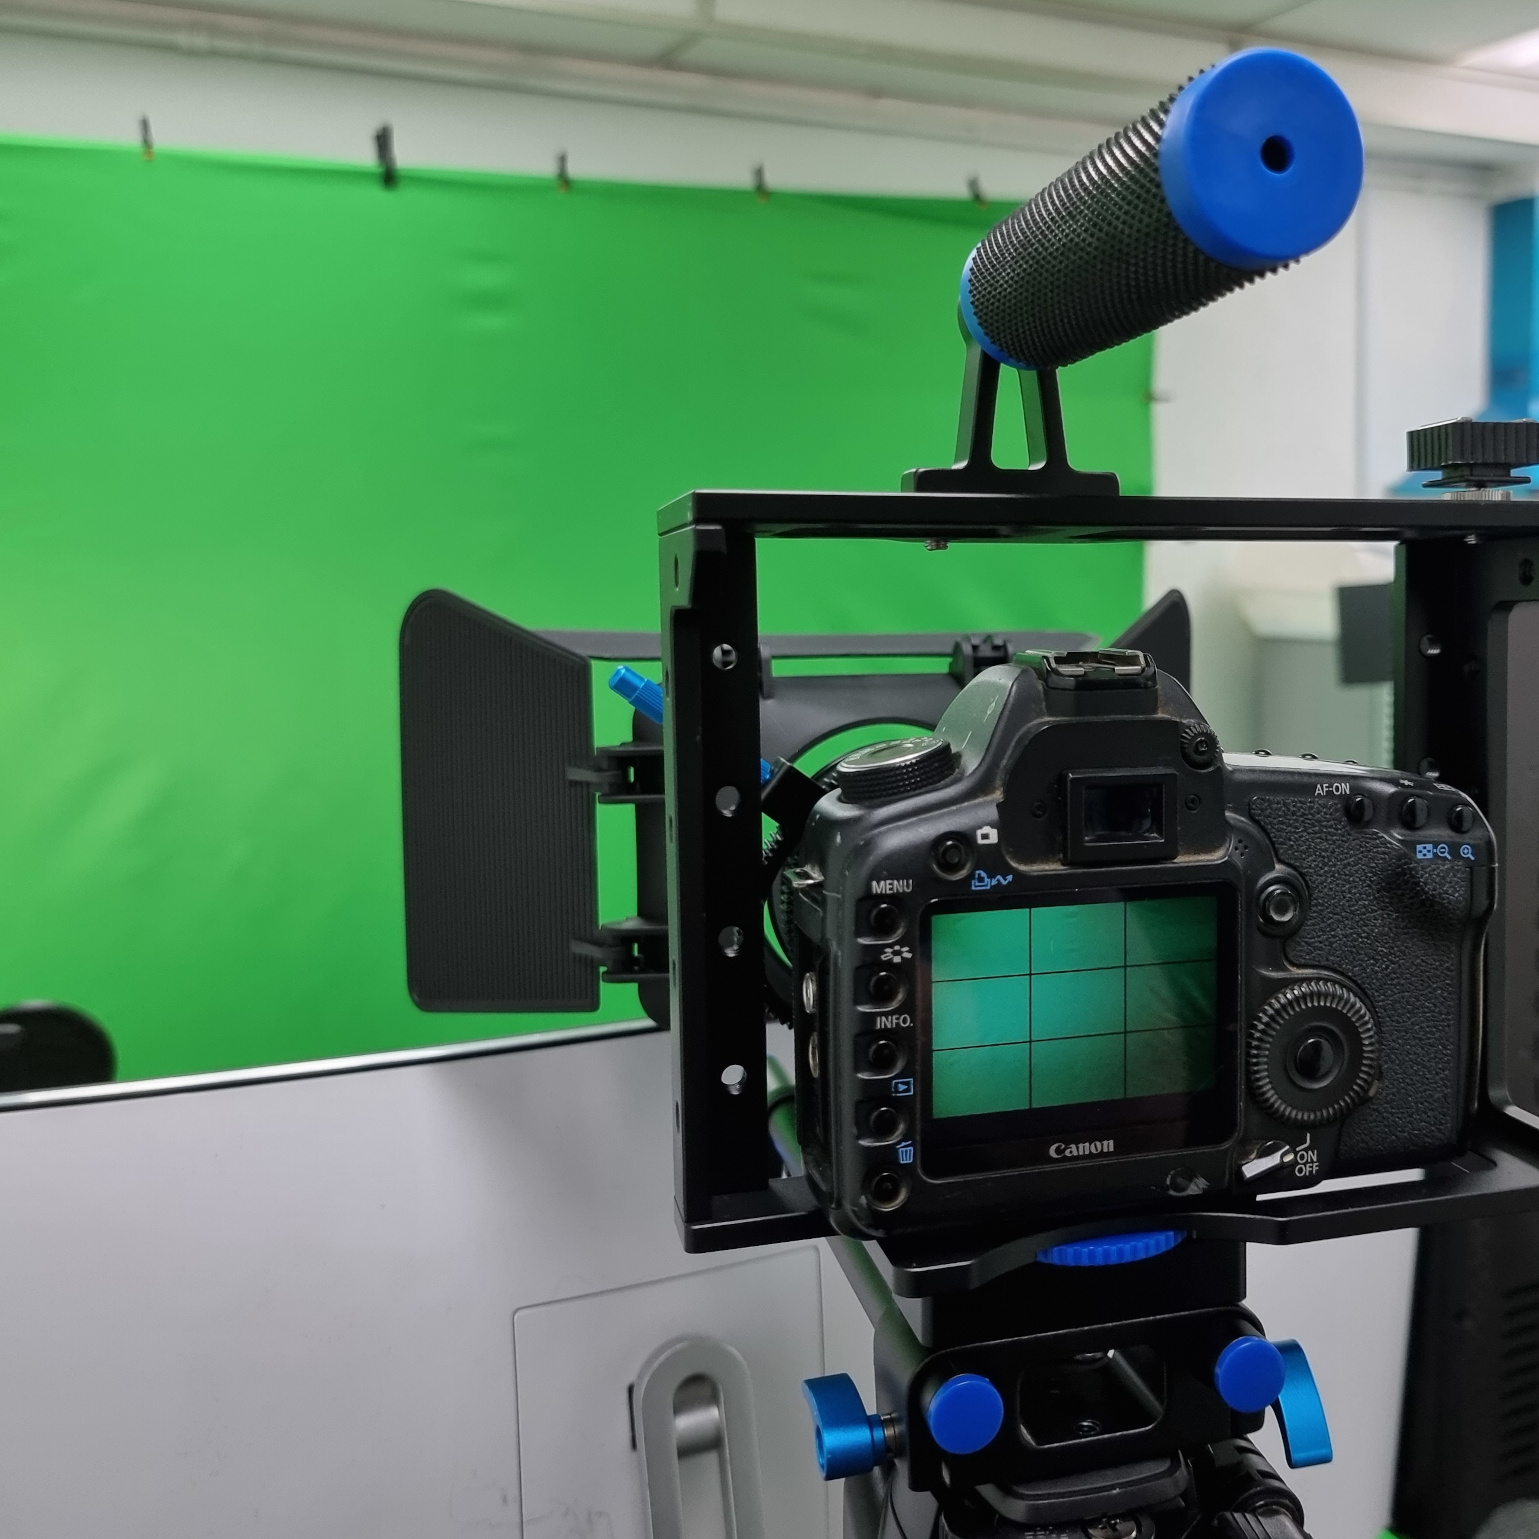
My primary camera is the Canon 5D MkII, which I bought in 2009. I recently added a Canon EF 24-105mm F3.5-5.6 IS STM lens to it, which is reviewed as the best lens for video recording. I also got a cage for it. Not really needed in this setup, but it looks cool. I have a Canon ACK-E6 power solution for it, which is basically a fake battery attached to a cable and plug so I don’t need to worry about charging and replacing batteries all the time. Lastly, I have an HDMI cable for it so I can view the feed on the PC. This is just for monitoring reasons, though, as the feed is a bit delayed and includes the overlays which can’t be removed on the MkII. I might buy a MkIII one day that does have a clean HDMI feed.

The secondary camera for social media videos is a Sony RX0 II. I use it as the primary camera for the training videos because it was easier to attach to my teleprompter - more on that in a moment. It has USB power and an HDMI cable to the PC via a Razer Ripsaw; this camera does provide a clean HDMI feed so I can record on the PC if I want to. Usually, I just record on the camera but use the feed to see what I'm recording on my pc. A neat feature of this camera is that it can be controlled with a mobile app. The app helps to ensure an appropriate focus, and I can start and stop recording without getting up.

Lastly for peripherals, there are two microphones. One on an arm at the desk which I use for the training sessions. For the social media videos where I am standing up, I have a lapel microphone for recording audio on my phone. The quality of the latter is not great. I tried a wireless one but that was even worse as it dropped out every now and then spoiling parts of the recording. I also tried with a directional microphone, but it was a bit of a cheap one so wasn’t great either and it picked up other sounds. I might one day invest in a more expensive one with a range that makes sense for my studio so I can avoid picking up sounds from the neighbours.

I have mentioned a pc a couple of times; There is a dedicated PC in the workshop for video recording, broadcasting with OBS, and editing using the Adobe suite. It’s an AMD box with 64GB of ram and M2 drives, so it runs Adobe with very little lag. The screen is a Prism ultrawide, which gives me space to screen-record the slides at 1080p and have my monitoring video and audio recording on the side. Razer keyboard, mouse and headset complete the setup. Sorry, this wasn't meant to be a Razer advert, but I am a fan of their products.....

Lastly, for editing, I have a Loupedeck. This is a really cool little editing deck that makes my editing workflow in premier far more productive. Editing is for my own videos and sometimes for testing new setups to make sure the recordings all work. Most of my public and training content these days is for Sourced, and those get edited beautifully by Molly, a video editor based in Australia that we work with.
Teleprompter!

Given the amount of content and the frequency that I want to create, and the fact that I don’t want to miss any important points in my training videos, it’s not practical for me to memorise everything. As such, I need my speaking notes. My first attempt was to show the notes on my screen, which is right below my primary camera. This worked for the social media videos because the distance between the camera and myself is large enough. However, it was very obvious for the up-close training videos that I was not looking at the camera. I decided to try a fairly cheap teleprompter I came across on Lazada. I did the first test recently, and it’s so much better! I will need to re-record my three intro training videos at some point, this time using the teleprompter.
If you are based in Singapore and are interested in borrowing my little studio please get in touch, I'm happy to oblige for a small donation towards more studio equipment! Note that it's best to record outside office hours though, as the neighbours can be a bit noisy!


